
WordPress is a powerful and popular platform for building websites, from simple blogs to complex e-commerce stores. This guide will walk you through the essential steps to get your own WordPress website up and running.
Step 1: Choose a Domain Name and Web Hosting
- Domain Name: This is your website’s address on the internet (e.g.,
yourwebsite.com). Choose a name that is memorable, easy to spell, and relevant to your brand or topic. - Web Hosting: This is where your website’s files are stored. You’ll need to sign up with a web hosting provider. Many hosting companies offer plans specifically optimized for WordPress.
Key Actions:
- Brainstorm and choose a unique domain name.
- Select a web hosting provider (popular options include Bluehost, SiteGround, and WP Engine).
- Purchase a hosting plan and register your domain name. Many hosts offer a free domain name for the first year.
Step 2: Install WordPress
Most web hosting providers offer a “one-click” WordPress installation, making this process very simple.
Key Actions:
- Log in to your web hosting account’s control panel (cPanel).
- Look for the WordPress installer (often found under “Softaculous Apps Installer” or a similar name).
- Follow the on-screen instructions to install WordPress. You’ll need to provide some basic information, like your site’s title and an admin username/password.
Step 3: Choose and Install a Theme
A theme is a template that determines the design and layout of your website. WordPress offers thousands of free and premium themes to choose from.
Key Actions:
- Log in to your WordPress dashboard (usually at
yourwebsite.com/wp-admin). - Navigate to Appearance > Themes.
- Click “Add New” to browse the WordPress theme directory.
- You can filter themes by features, layout, and subject.
- When you find a theme you like, click “Install” and then “Activate”.
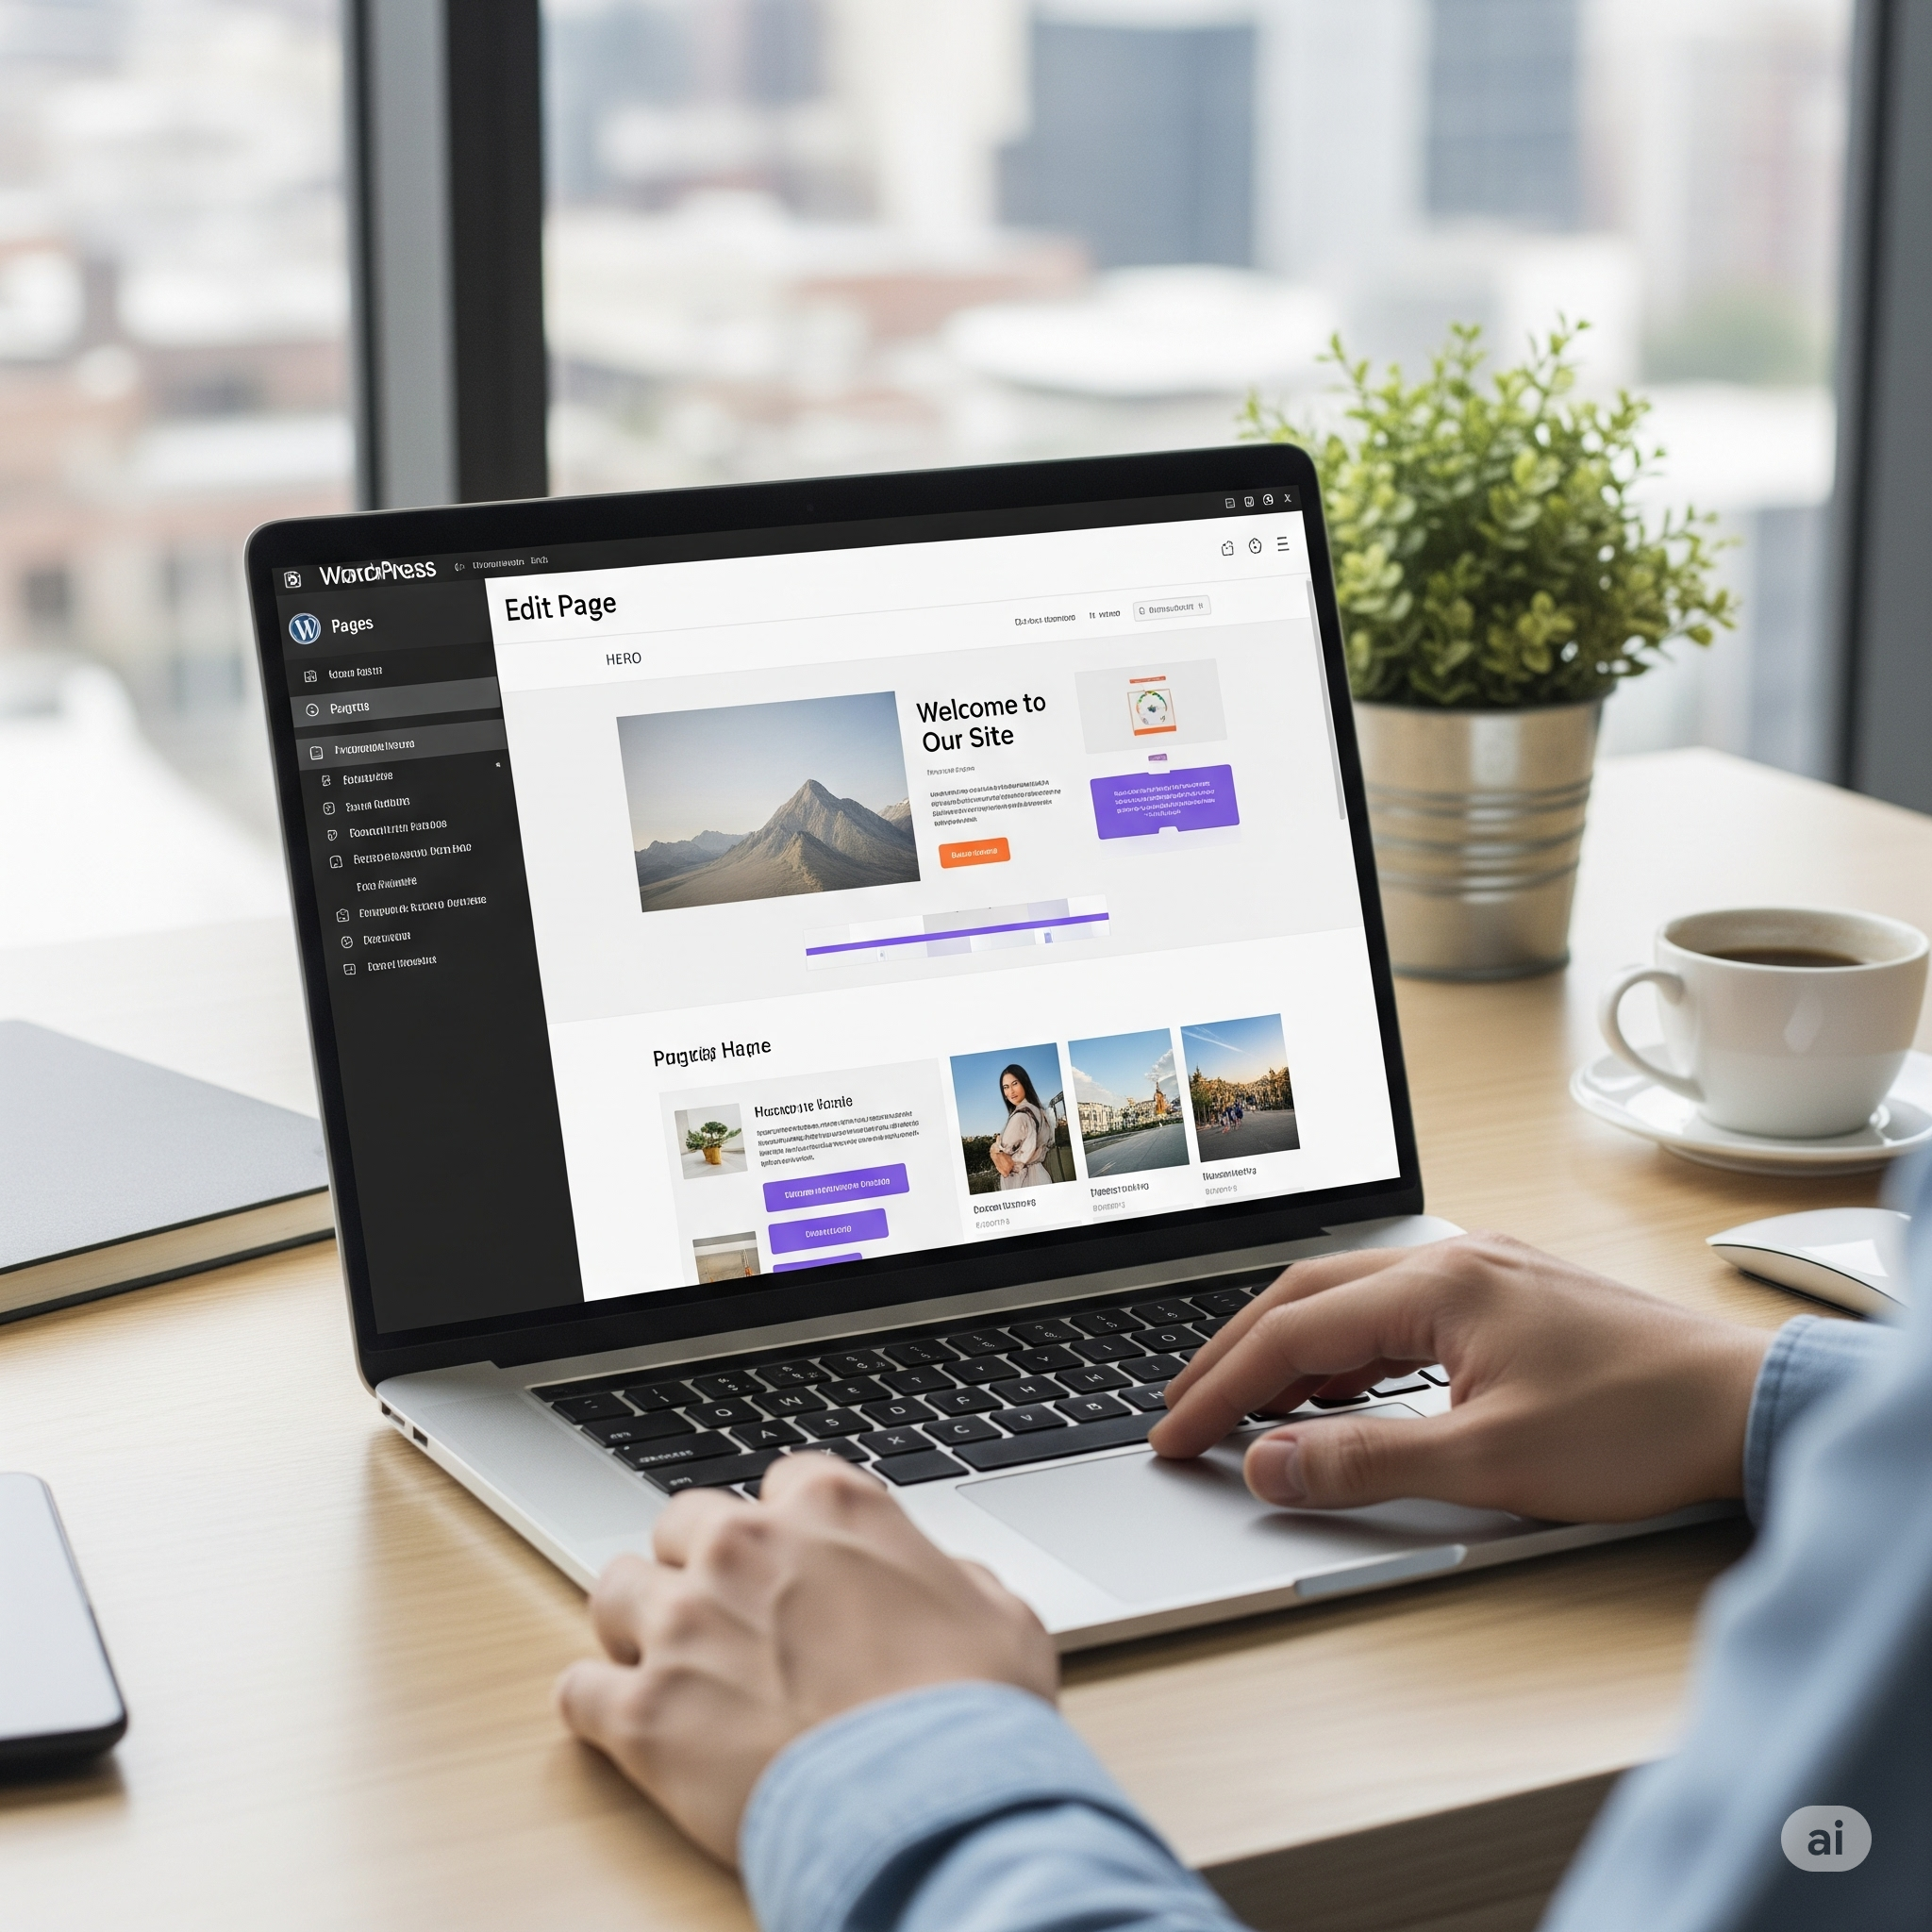
Step 4: Add Essential Pages
Every website needs a few key pages to provide important information to visitors.
Key Actions:
- In your WordPress dashboard, go to Pages > Add New.
- Create the following essential pages:
- Homepage: The first page visitors see.
- About Page: Tell your story and introduce your team.
- Contact Page: Provide a way for visitors to get in touch (include a contact form).
- Blog Page: If you plan to have a blog.
- Services/Products Page: If you are a business.
- Add content (text, images) to each page and click “Publish”.
Step 5: Customize Your Website
Now it’s time to make your website your own by customizing its appearance.
Key Actions:
- Go to Appearance > Customize to open the WordPress Customizer.
- From here, you can typically:
- Upload a logo and site icon (favicon).
- Change your site’s colors and fonts.
- Customize your header and footer.
- Set up your navigation menu by going to Appearance > Menus.
- Many modern themes also work with drag-and-drop page builders like Elementor or the built-in Block Editor (Gutenberg) for more advanced layout customization.
Step 6: Install Essential Plugins
Plugins are like apps for your website, adding new features and functionality.
Key Actions:
- Go to Plugins > Add New.
- Search for and install these essential types of plugins:
- SEO Plugin: To help your site rank better in search engines (e.g., Yoast SEO, All in One SEO).
- Security Plugin: To protect your site from malware and hackers (e.g., Wordfence, Sucuri).
- Contact Form Plugin: To create forms for your contact page (e.g., WPForms, Contact Form 7).
- Caching Plugin: To improve your website’s speed (e.g., W3 Total Cache, WP Super Cache).
- After installing a plugin, be sure to “Activate” it and configure its settings.
Step 7: Add Your Content
With the structure in place, you can now start adding your primary content, such as blog posts.
Key Actions:
- To create a blog post, go to Posts > Add New.
- Write your content in the editor, adding text, images, videos, and other media.
- Organize your posts with categories and tags.
- Click “Publish” when you’re ready.
Step 8: Launch Your Website
Before you share your new website with the world, run through a final checklist.
Pre-Launch Checklist:
- Proofread all your content for typos and grammatical errors.
- Check that all links are working correctly.
- Test your contact form to ensure you receive submissions.
- Make sure your website looks good on mobile devices (responsive design).
- If your hosting provider gave you a temporary URL, make sure your site is now live on your actual domain.
Congratulations! Your new WordPress website is now live and ready for visitors. Remember that a website is a continual work in progress, so you can always update and add new content over time.